
Hi all!
Today is my spot on Ellison Lane’s “Spread the Love” Valentine’s blog hop.
I have a tutorial to help you decorate for Valentine’s Day (or for every day!) and a giveaway too.
Based on the paper chains I made as a little girl, this fabric chain bunting is perfect for adding a little cheer and using up your fabric scraps too!

I’ll wait while you flashback to Kindergarten and then let’s get started!
———————
Each link in the chain measures 3 inches. The listed supplies are for a 5 foot chain. Adjust according to your desired length.
:: You’ll Need ::
- (40) 2″ wide strips of fabric at least 11″ long
- (1) yard Heavy Duty Wonder Under or similar double sided fusible interfacing
- Iron
- Cutting Mat/Rotary Cutter/Ruler
- Scissors
- Fabric Chain Template (click to print)
:: Step 1 ::
Begin by preparing your fabric strips and interfacing.
Cut your Wonder Under in to (3) rectangles measuring 11 inches x WOF (width of fabric = 17 inches).

Sub cut each rectangle in to (8) strips measuring 2″ x 11″ for a total of (20) strips. Set aside the extra (4) strips.

From your fabric cut (40) strips. You will use two strips per link in the chain. (One for the front, one for the back).

:: Step 2 ::
Sort your fabrics in to ‘front’ and ‘back’ piles. This is helpful for assembly line ironing!
You will need (1) front fabric strip, (1) back fabric strip, (1) interfacing strip, and your template to make each chain piece.

Starting with your front fabric strips and with a hot iron, apply a strip of fabric to each piece of interfacing.
Fuse according to manufacturers instructions.
(For Wonder Under, one side is paper backed. Fuse to the exposed ‘rough’ side first).


You need to allow the paper to cool completely before continuing to the next step. If you try to remove the backing right away, the second sticky side will come right off with the paper.
Enough time will have passed on your first strip by the time you have completed all of the ‘front’s.
:: Step 3 ::
Carefully peel the paper backing off of each strip.

Using your back strips, fuse your fabric to the reverse side of your chain piece.

:: Step 4 ::
Lay your chain template onto a strip and trim the excess from the bottom and around the point. Repeat for all strips.

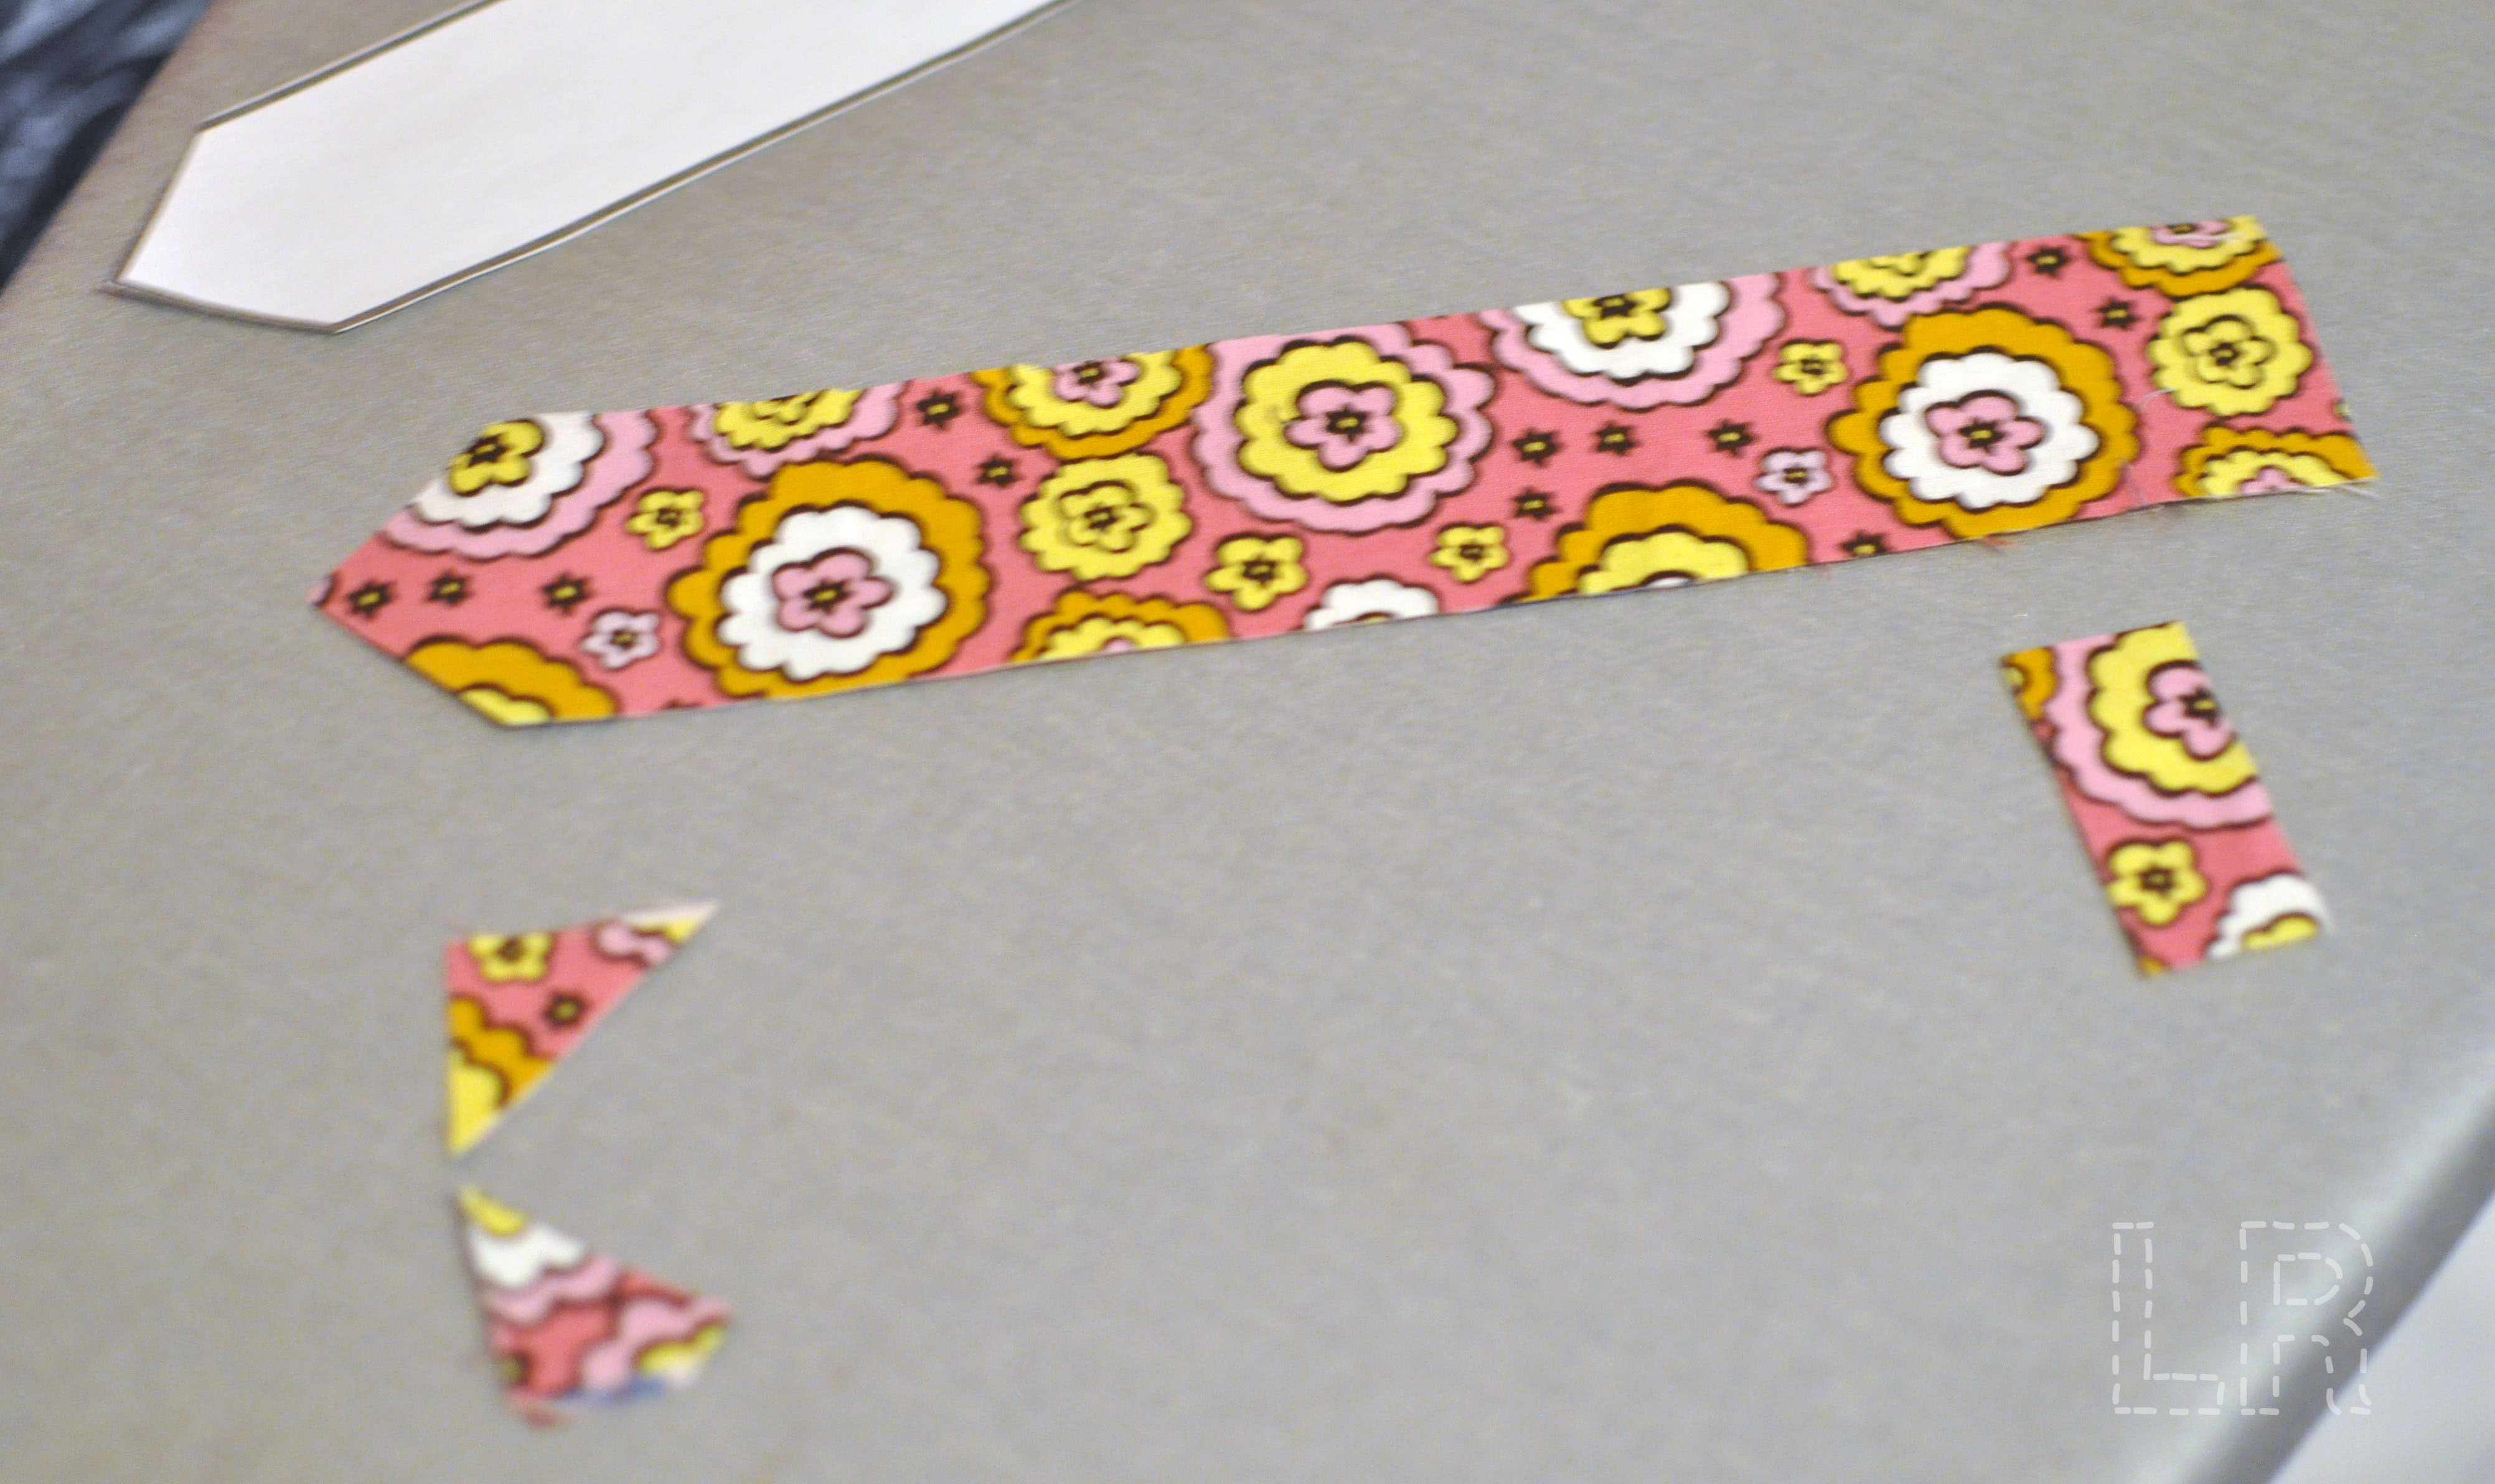
:: Step 5 ::
Place the template back onto your strip and fold them in half together along the length. Snip into the marked line at the bottom of the strip.

Using the lines marked on the pointed end of your template (or eye it, it’s a 1/2″ cut on each side!), snip into the pointed end of your strip piece.

:: Step 6 ::
Roll your strip into a ring, tucking the pointed end into the hole you snipped in the bottom.

Carefully pull the point through and adjust your ‘arrow tails’ so that they lie flat against the backside of the link.

You’ve completed your first link!

Just like in a paper chain, continue to link each chain onto the previous one to grow your bunting.

Once your strips are made, kids can help assemble with a little instruction from you. My kids love to craft, so we’re having fun putting together a loooong fabric chain!
When the holiday is over you can easily disassemble and store flat until you want to use your fabric chain again.

——————–
The giveaway today is from Lima Sews Fabric Shop on Etsy.
Lima Sews is a small business based in Portland. OR that offers beautiful fabrics and longarm quilting services too.
They’ve offered up a Fat Quarter Bundle of Mona Luna’s Havana for me to give to one of you. This fabric is so cute and it’s organic!
The bundle includes 16 fat quarters.

For a chance to win just leave a comment below.
And share your favorite childhood craft, too, if you’d like. I’d love to know.
Did you make paper chains too?
Open to all readers, US and International. I will leave open until Tuesday, Feb 5th at 12 noon EST.
——————–
Megan at Canoe Ridge Creations is sharing another Valentine tutorial today, so be sure to visit her too.
The hop continues through the rest of the week. Enjoy!


